

A property can feel right within minutes. The purpose of a site visit is to slow that first impression down. A structured walk-through helps you separate what you can see today from what still needs written confirmation. Use this 90-minute framework for a resale home or a ready-to-view apartment, and adapt it for a sample flat where the finished unit is not yet available.
Before you leave: prepare a one-page brief
Write down your three non-negotiables, three preferences and the maximum all-in amount you can spend. Include the costs you expect beyond the quoted price, such as registration, financing, immediate repairs, moving and furnishing. Bring a phone charger, a measuring tape, a notebook and the original listing. Ask who will meet you, which exact unit you will see and whether you may inspect common areas as well as the apartment.
If you are visiting more than one property, use the same checklist for each. Otherwise the most recent or best-staged home can receive an unfair advantage.
Minutes 0–15: read the approach and surrounding streets
Start before the gate. Notice the route you actually used, not only the route shown on a map. Check the condition of the final access road, pedestrian movement, lighting, nearby activity and where visitors or delivery vehicles stop. If commute time matters, repeat the journey at the hour you would normally travel. A quiet midday visit tells you little about a weekday peak.
- Record the building entrance and the route from parking to the lobby.
- Look for construction, noise, drainage or access concerns that deserve a second visit.
- Observe whether the surroundings match the lifestyle or rental demand you expect.
Minutes 15–25: inspect the building experience
Common areas are part of the property you will own or use. Walk through the lobby, lifts, staircase, parking and shared amenities that matter to you. Note visible upkeep, accessibility, signage and how easy it is to move with groceries, a pram or luggage. Ask which facilities are operating now and which are proposed. Photograph only where permitted, and label your images by property so they remain useful later.
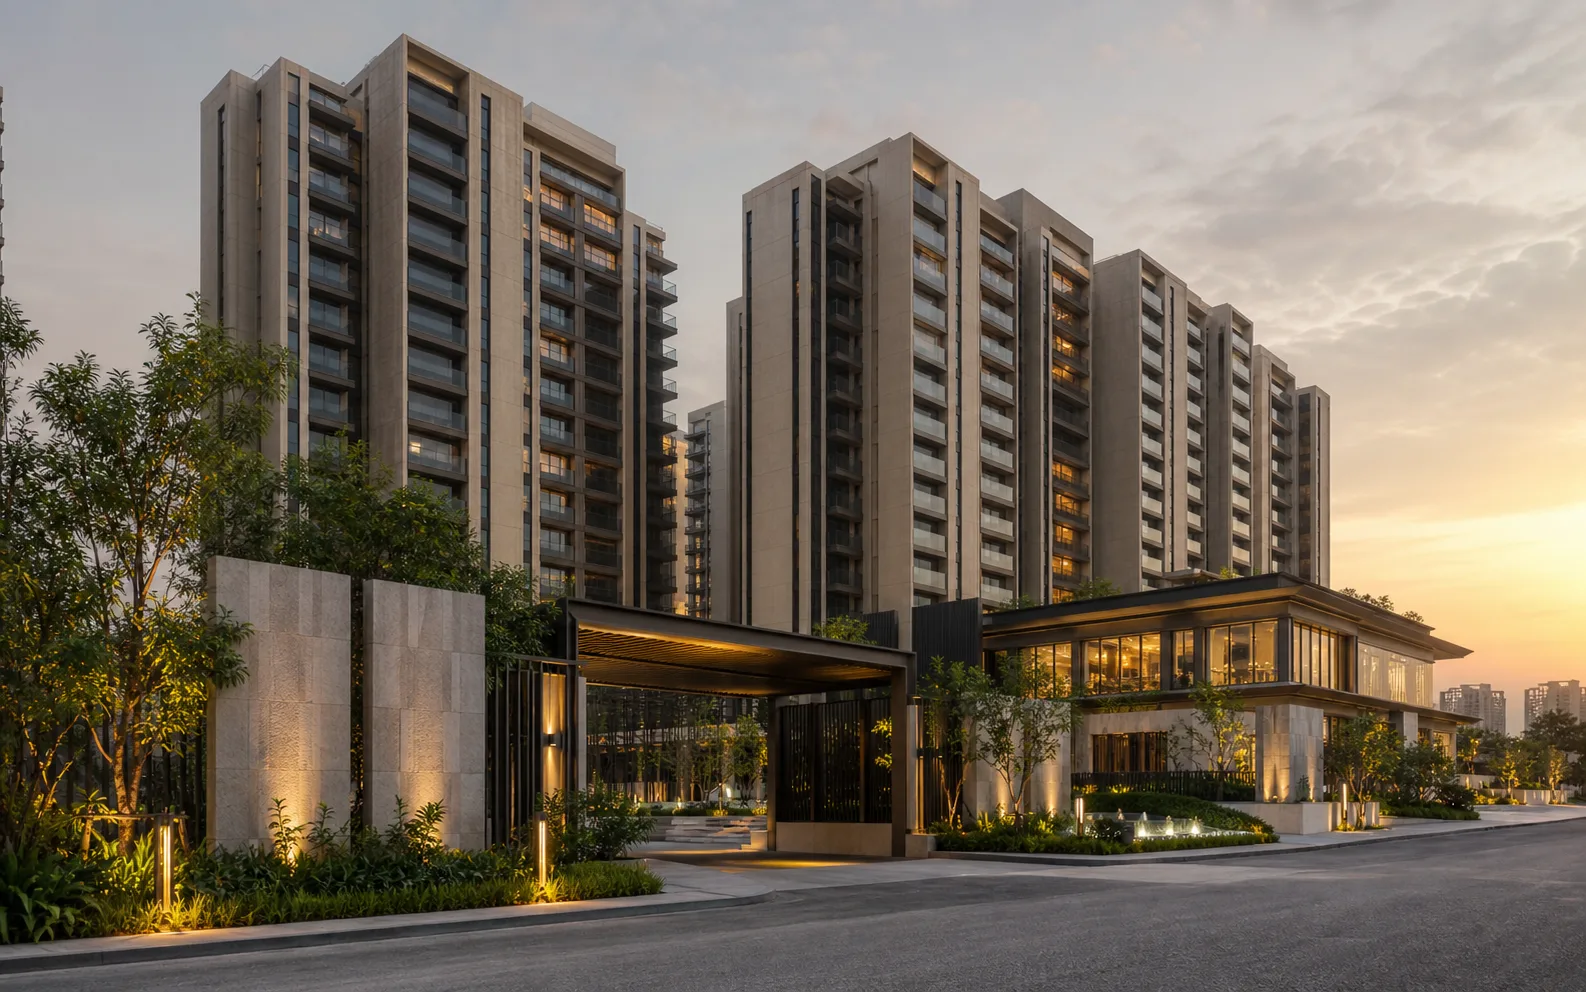
Minutes 25–55: walk the home in a fixed order
Enter the unit and pause before discussing finishes. Note the orientation, view, natural light and relationship between rooms. Then move through the living area, kitchen, bedrooms, bathrooms, utility space and balconies in the same order every time. Measure the spaces that must fit your furniture or working setup. A room that looks large without furniture can be difficult to use once a bed, wardrobe and circulation space are accounted for.
Open and close accessible doors and windows. Look at corners, ceilings, window edges and areas under sinks for signs of dampness or unfinished work. Test switches and taps only with permission. Where a room is staged, ask what is included in the sale and what is display furniture. For a sample flat, request the exact floor plan and a written specification for the unit you would purchase.
Minutes 55–65: check light, air and daily comfort
Stand in each major room without relying on artificial lighting for a moment. Look at the distance to facing buildings and whether windows can provide the ventilation you need. Consider privacy from neighboring homes and common corridors. Listen for road, plant-room or construction noise with the windows open and closed. If these factors are central to your decision, arrange another visit at a different time of day.
Minutes 65–80: move from observations to written evidence
Use this part of the visit to collect questions, not to make an immediate commitment. Ask for the exact unit identification, current price sheet, floor plan, area definitions, payment schedule, maintenance estimate, parking terms and an itemized list of additional charges. For a resale property, ask which fixtures are included and which dues or repairs remain. For an under-construction project, ask for the current construction and possession information in writing.
Keep marketing statements separate from documents. Legal title, approvals, agreement terms, tax treatment and financing suitability require independent review by qualified professionals before payment.
Minutes 80–90: score the property before you leave
Write a short verdict while the visit is fresh. Rate each category from one to five, then note the evidence behind the score. A low score is not automatically a rejection; it tells you what must be resolved before you move forward.
| Decision area | What to record |
|---|---|
| Location and access | Actual route, daily travel, surrounding activity |
| Layout and usability | Measurements, storage, circulation, room flexibility |
| Light and comfort | Daylight, ventilation, privacy, noise |
| Building condition | Common-area upkeep, lifts, parking, visible defects |
| Price clarity | Written quote, exclusions, recurring costs |
| Open questions | Documents and independent checks still needed |
After the visit: compare, verify and revisit
Within a day, transfer your notes and photos into a comparison sheet. Send one concise follow-up requesting the missing documents and answers in writing. Compare the property against your original brief, not against the salesperson's preferred narrative. If it remains a strong candidate, revisit with another decision-maker and, where appropriate, an independent inspector. Only consider a token or booking payment after you understand the conditions, refund terms and checks that still need to be completed.
The decision to take home
A good site visit does not end with “I liked it.” It ends with a clear view of what works, what is uncertain and what evidence will settle the remaining questions. That record makes your next conversation more focused and helps prevent an expensive decision based on presentation alone.